Home / Writing / Pushing through that mistake might give you results you didn't know you wanted
I have big aspirations of trying to put into words the things that film photography makes me feel, but I haven’t sat down and written a piece like this in ages, and so I thought: let’s start with something easy.
What can be easier than sharing the technical details and final results of a mistake that I’m sure many have made before me?
I am known to impulse buy film, especially when that film is something interesting. If you have a look at my Instagram profile you’ll see I am inclined towards process and experimenting, and with a bit of luck I get a good photo every now and then. I’ve been following the work of Camera Rescue for quite some time, and one evening they posted about a new film stock being made in Finland, Santa RAE 1000. And so I ordered a few rolls (as one does).
The first roll of 120 was shot in my Mamiya C220. I exposed that at 800, because 1000 ISO isn’t something you’ll find on most meters, developed as normal in Ilfotec HC, and was quite happy with the results.
I decided the next roll of this stock to try would be some 35mm loaded into my Olympus Trip 35. It’s a camera I love to carry with me when I’m out on the bike or hiking longer distances. It’s fully automatic, with the only things you can control being ISO and focus-by-scale. Of course by the time my roll of Santa RAE was loaded and advanced to the first frame, I realised that I had forgotten that the Trip 35 can’t meter past ISO 400. It’s a good thing that just the previous week they had posted some good results from someone else that had decided to expose at ISO 400, and so I decided to give it a go, and try and compensate by pulling during development.
I filled up half of the roll on a bike ride, and the other during an amazing hike on trails that were no longer too muddy to enjoy. The recipe I decided to use to develop this roll of Santa RAE 1000 metered at ISO 400 was as follows:
- Developer: Ilfotec HC 1:31 dilution at 20 degrees celcius
- Development time: 7 minutes 30 seconds
- Agitation: 30 seconds initially, 10 seconds every minute after
- Stop bath for 1 minute
- Ilford Rapid Fixer for 7 minutes (5 is fine for fresh fixer, but mine has seen a few rolls)
- Wash using the Ilford method (this saves quite a lot of water)
- Final wash of 1 minute in a bit of water with a drop of dishwashing liquid (this helps prevent streaking / water stains)
The negatives came out a little too dense. As I hung them up to dry I feared that I would only be able to use a couple of frames from the roll. I think the results would be much better by reducing development time by about a minute, the same amount of time you’d use for a roll of HP5 shot at ISO 400. I scanned them in anyway. As an aside, I use the Negative Lab Pro guide for Vuescan to get the most from my scans.
I just want to take a quick moment to address scanning film and manipulating it in Lightroom (or any other photo editor). There’s nothing wrong with it. If you have a problem with it, I’d suggest renting out a darkroom for a day. Choose a difficult negative to work with and try to get the perfect print from it. You’ll come to realise there’s not much difference from an ideological perspective, whether you’re doing it on screen, or in the darkroom.
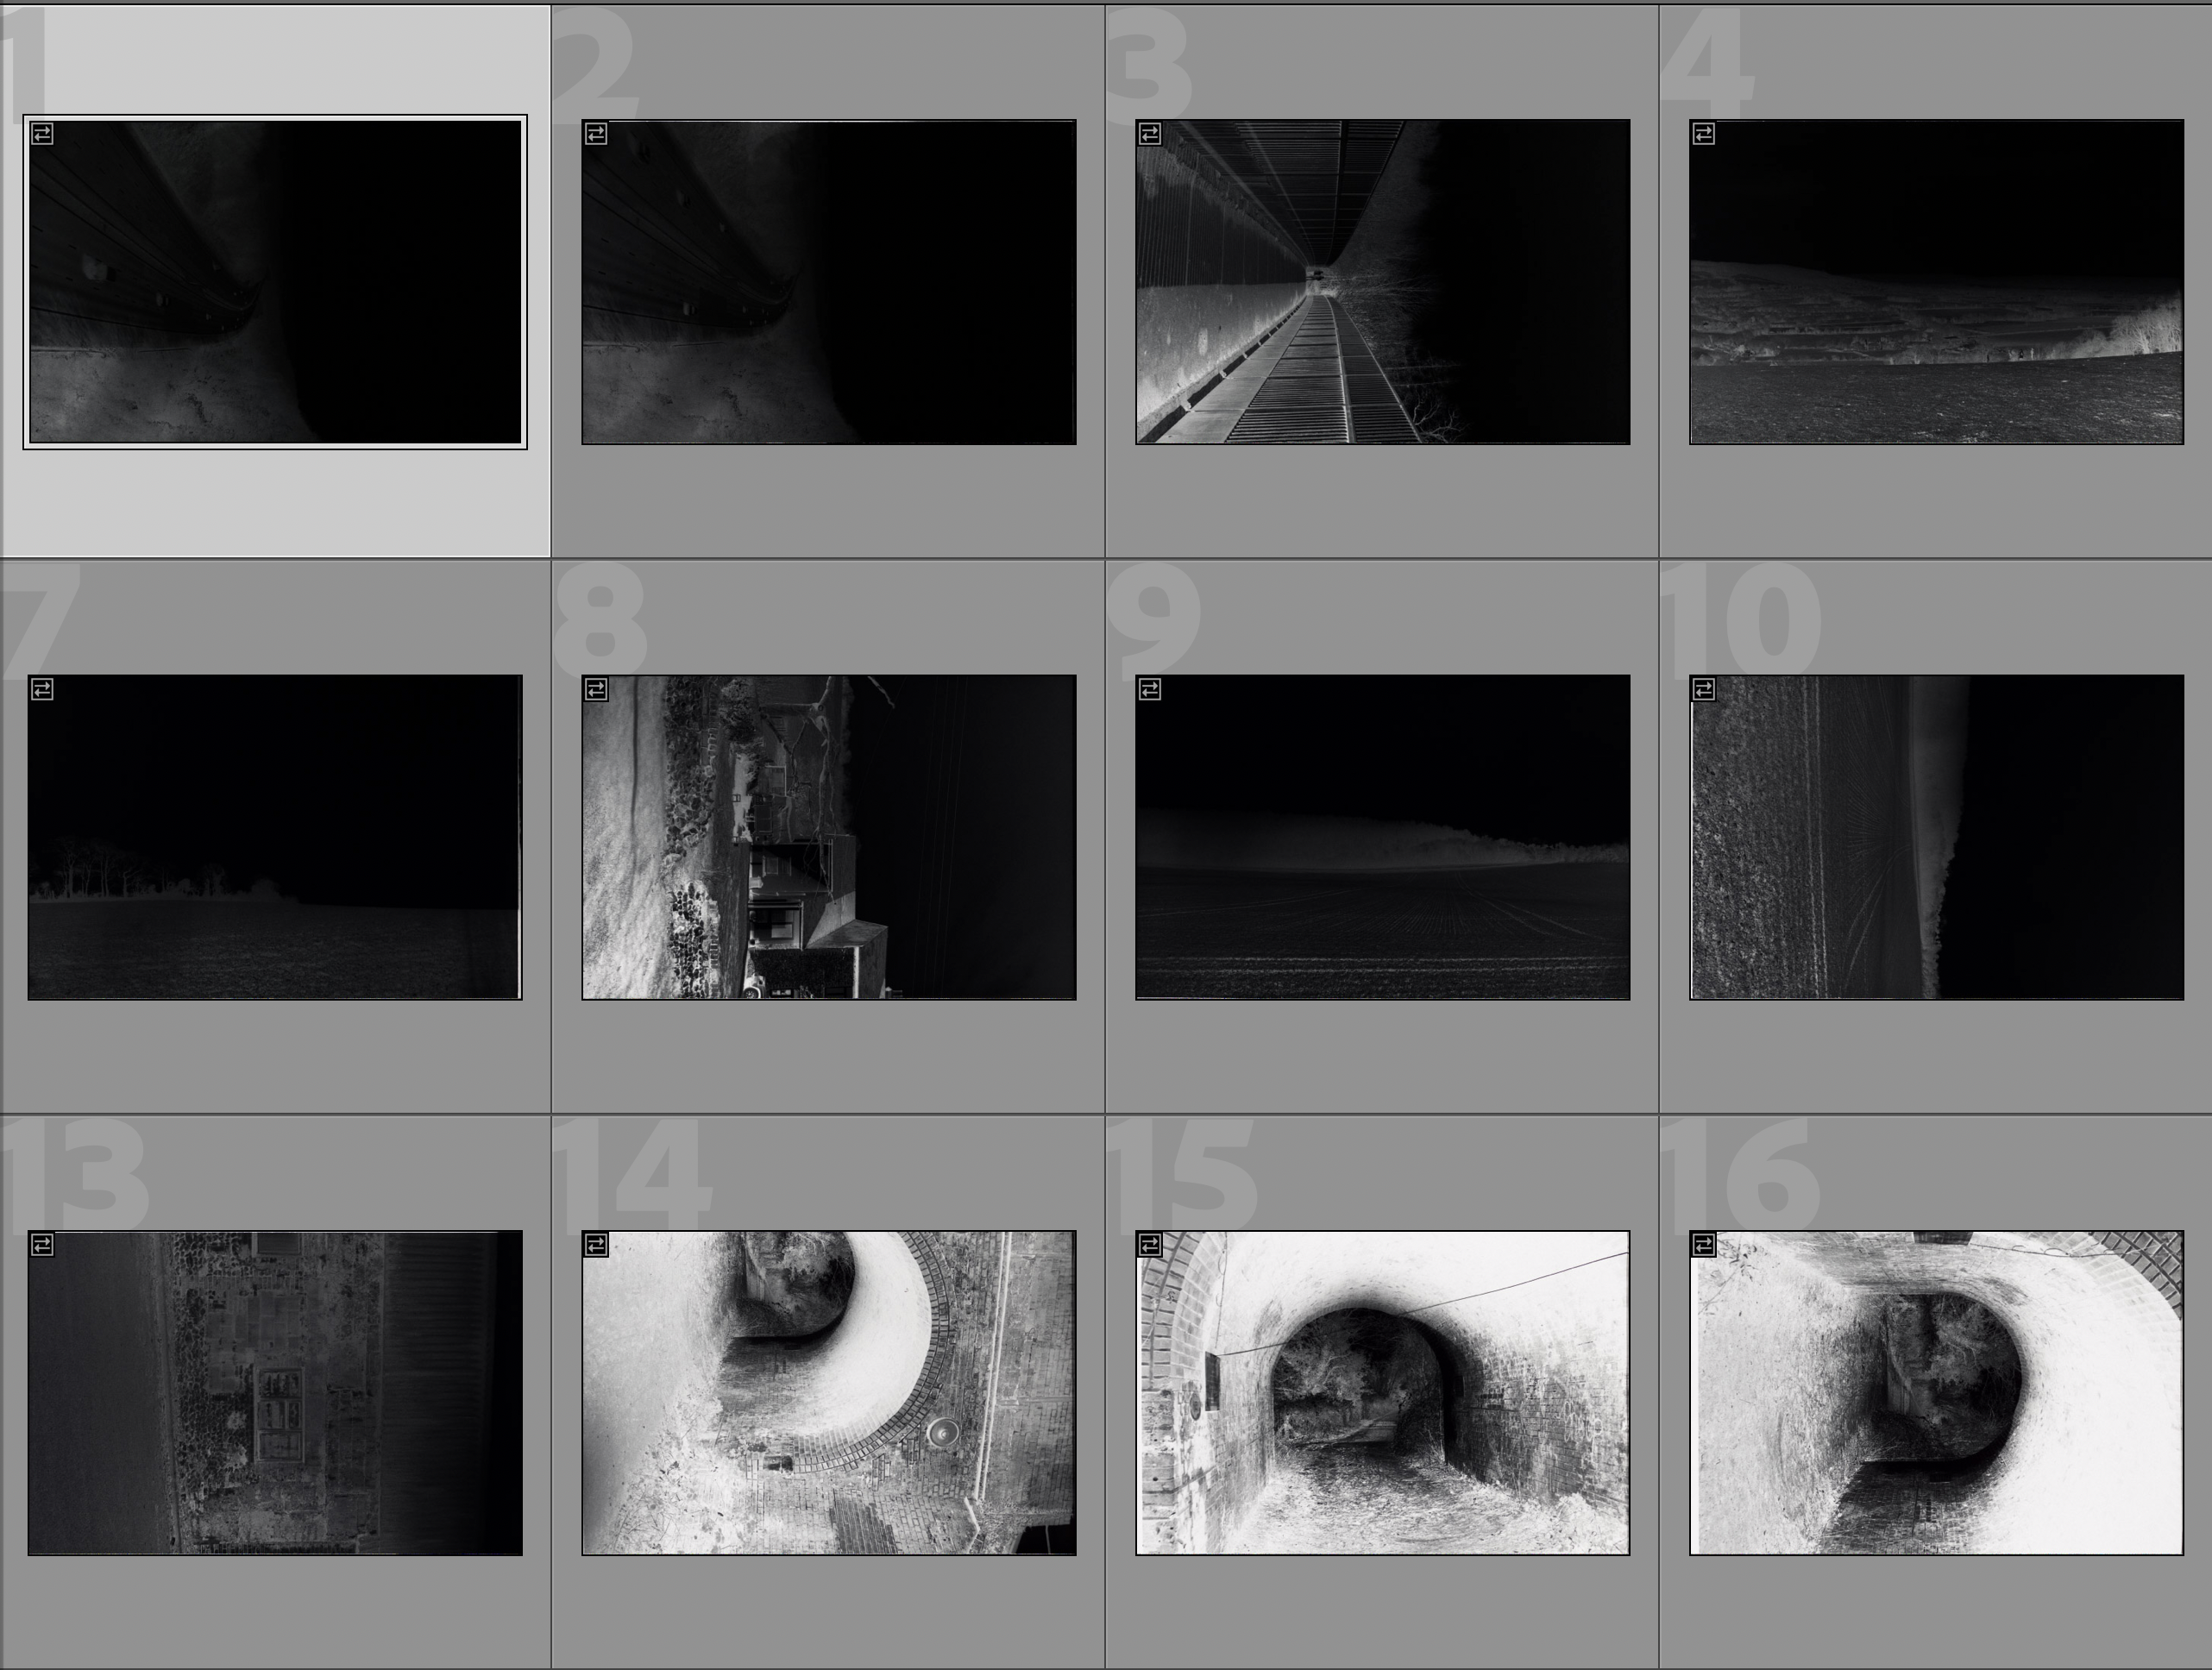
All right. That being said, let’s see whether we can salvage one of the frames on that roll. As you can see, it’s extremely dense for two reasons: almost two stops of overexposure, and some over-development on top of that. It doesn’t look like there’s much we can do here, right?
Well, let’s pull up the excellent Negative Lab Pro and see what we have to work with after it applies its initial sorcery.
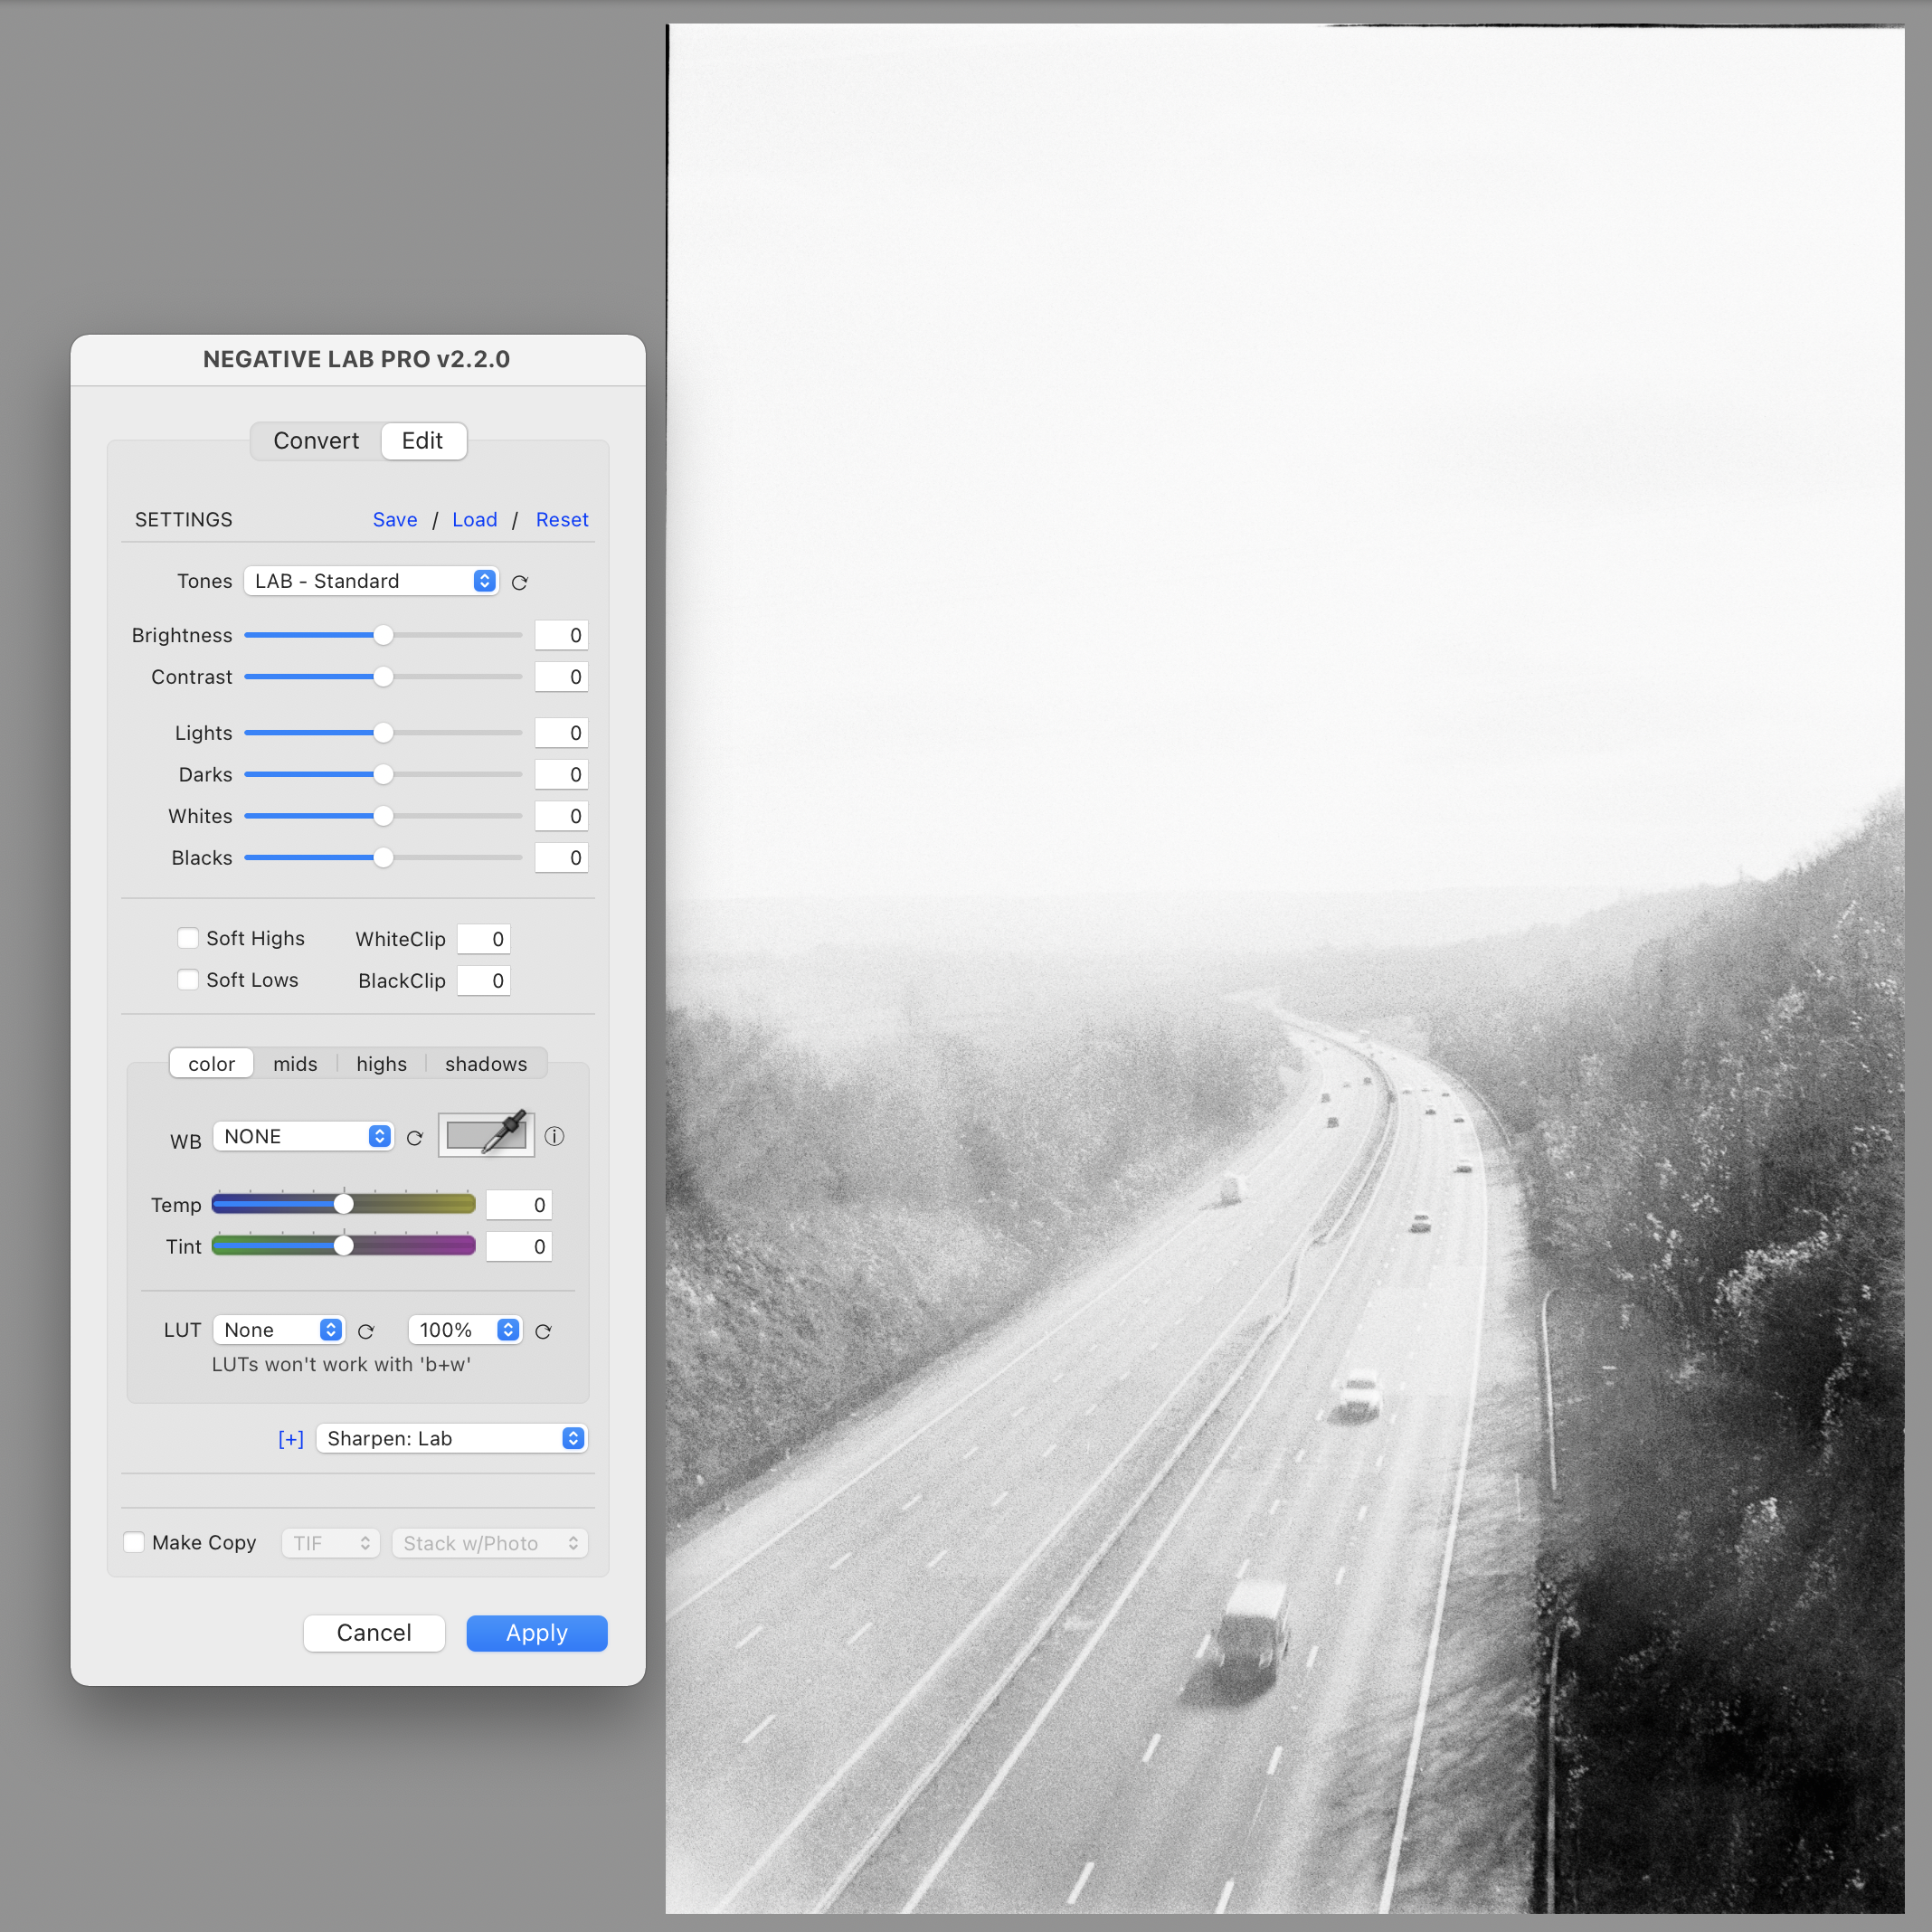
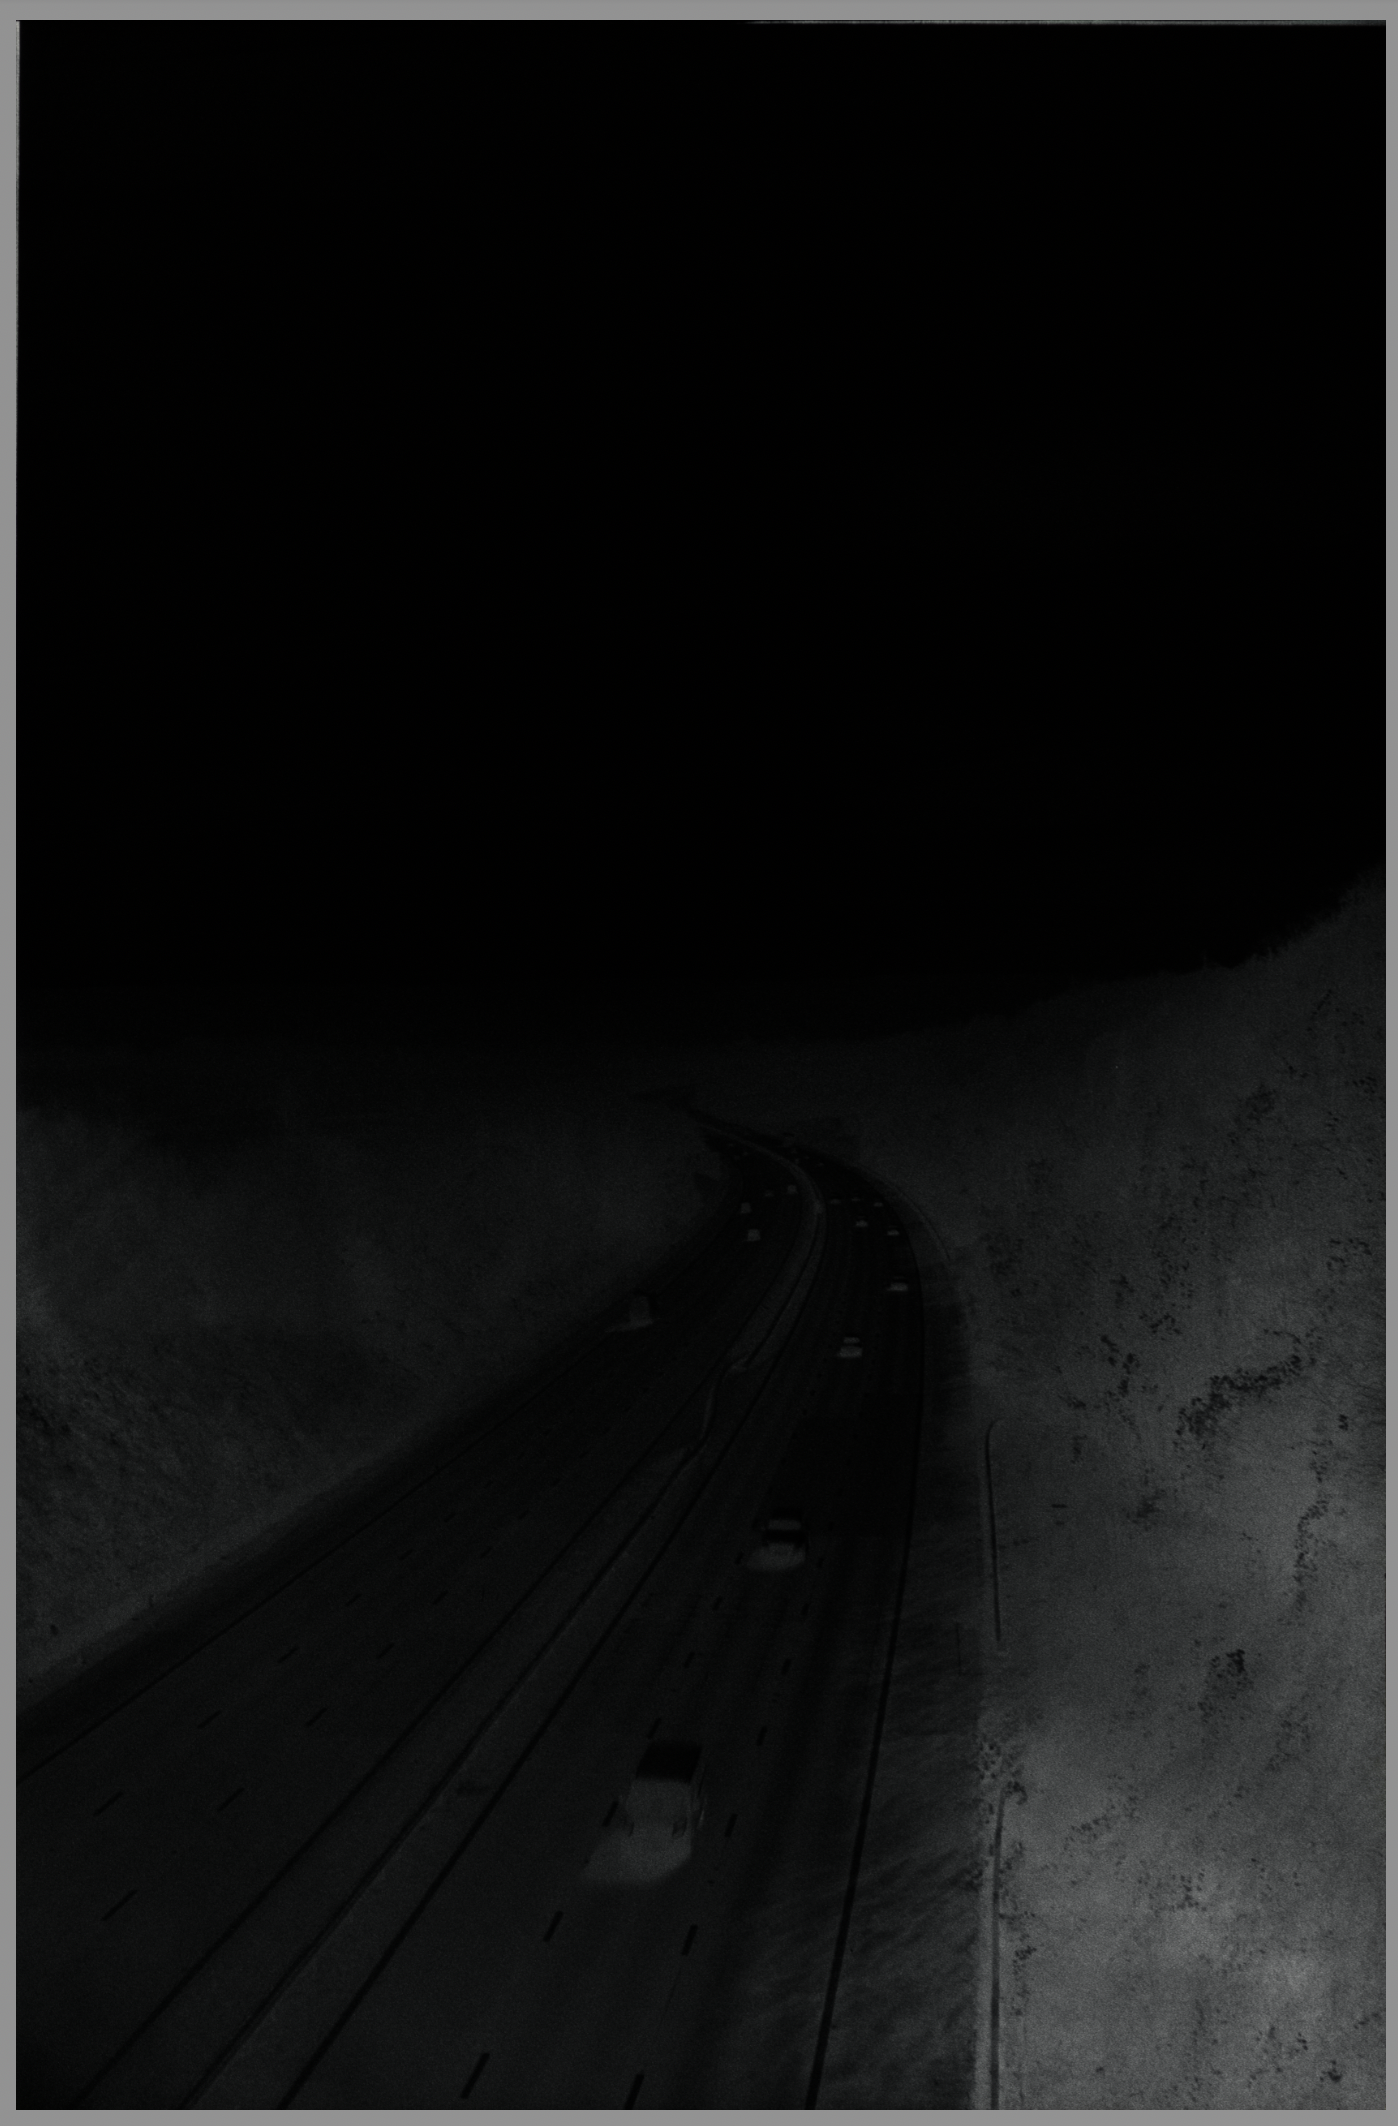
At first glance this doesn’t look promising at all. The highlights seem to be extremely blown out. Let’s pull the lights right down, add some contrast, reduce brightness a bit, and tweak the rest just a smidgen. That should give us a good idea of whether this is a lost cause or not.
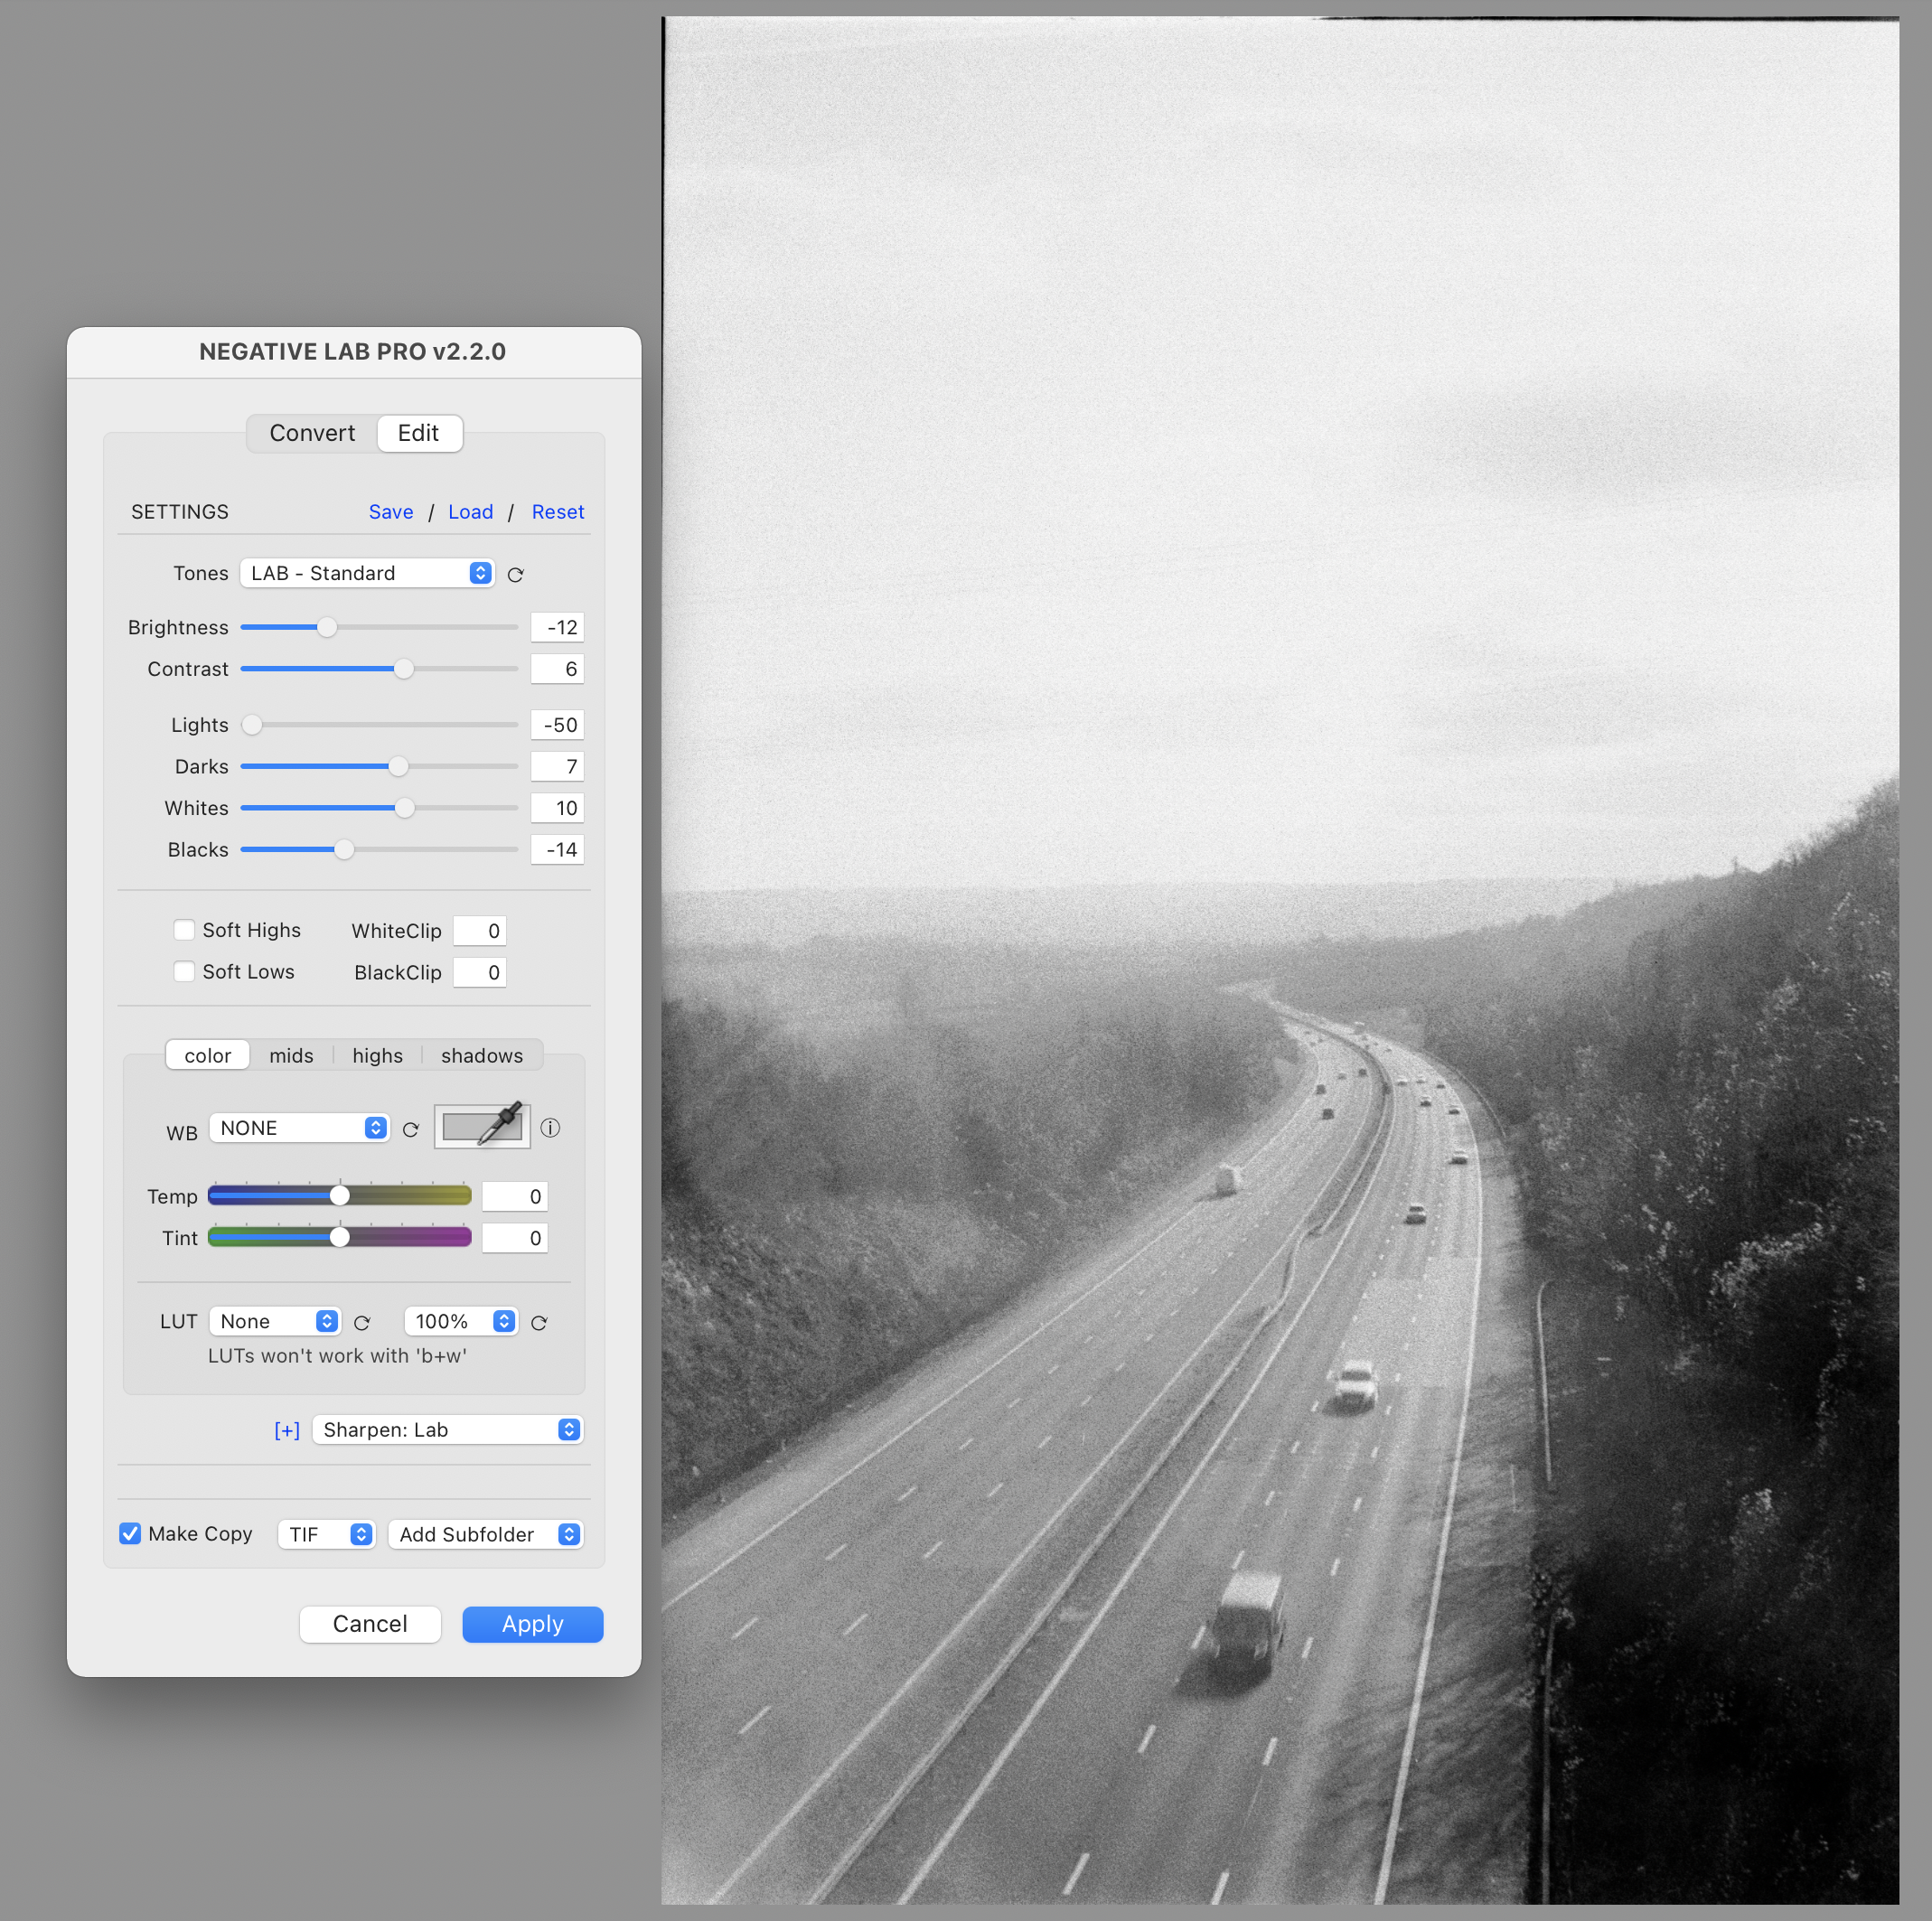
Hey, that doesn’t look too bad! Usually, with a good negative, this is where I would stop. The latest version of NLP I’m using at the time of writing gives me more than enough control to get the look I like. However, in cases like this I add another step. I ask NLP to make a TIF copy of the positive and pop it into a sub-folder. Lightroom is extremely powerful, and you’d be suprised at just how much there’s still left to work with in the positive that we’ve gotten from the process.
I imported the resulting positive into Lightroom and made a few final edits. In this case I didn’t do anything drastic. Further adjustments to highlights and black levels, mostly, but I ended up with a photo that I’m very happy with. At this point it’s exported to a JPEG that I’ll spot clean in Photoshop if needed (nothing comes close to Photoshop’s tools for getting rid of dust). Rinse and repeat, and I might end up with a few more photos that I’m very happy with.
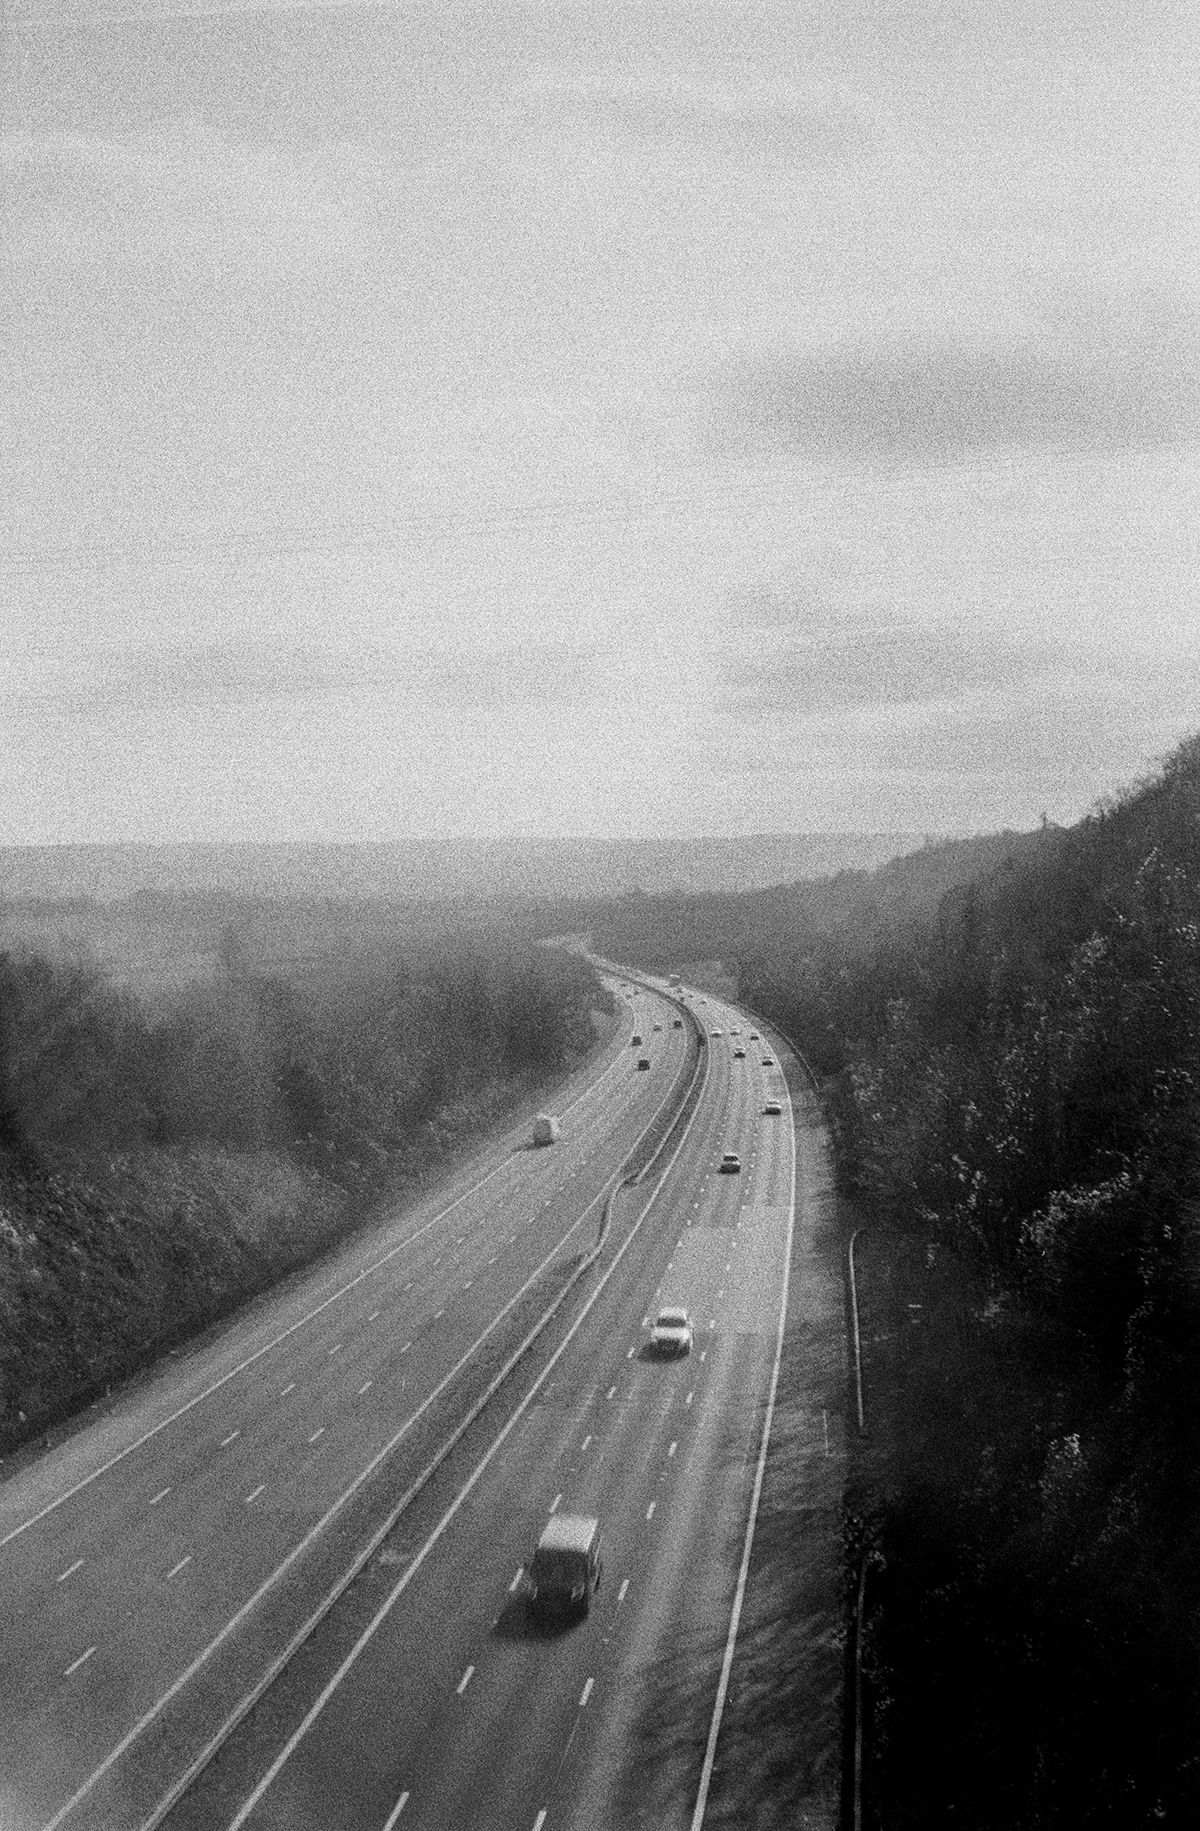
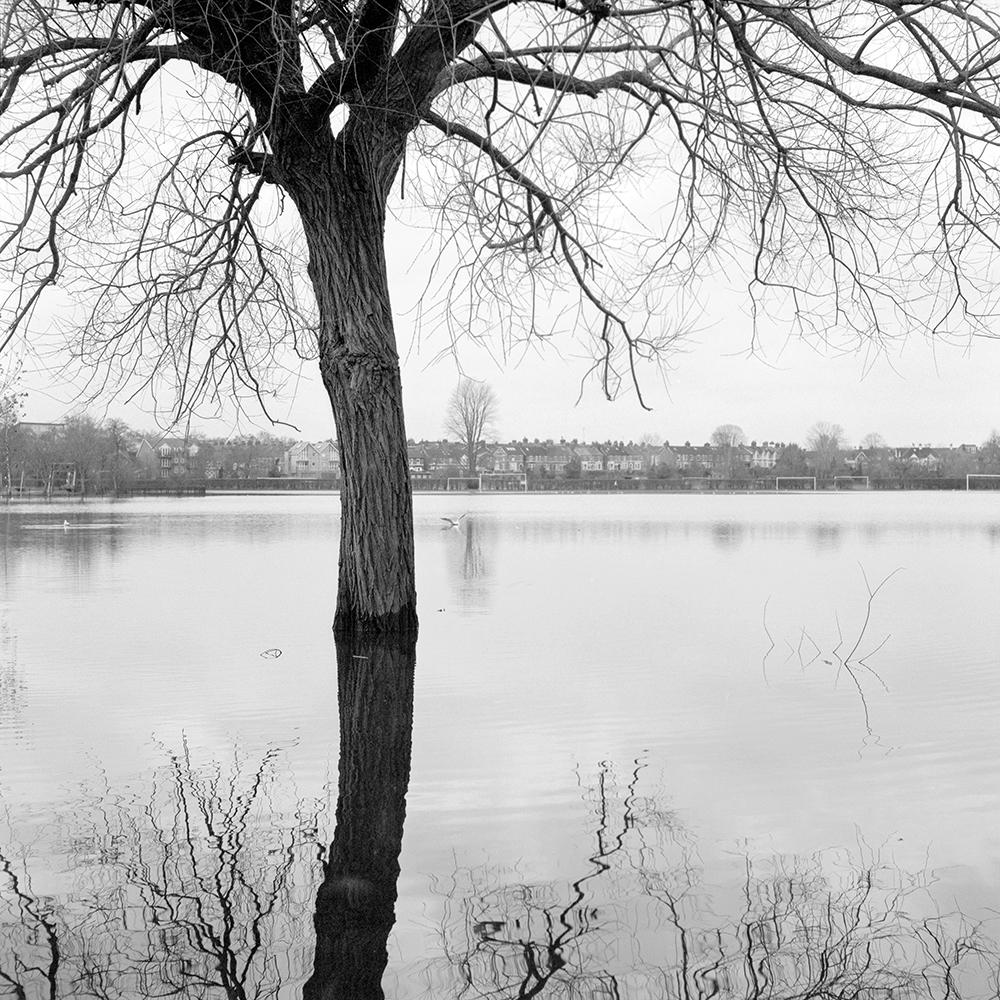
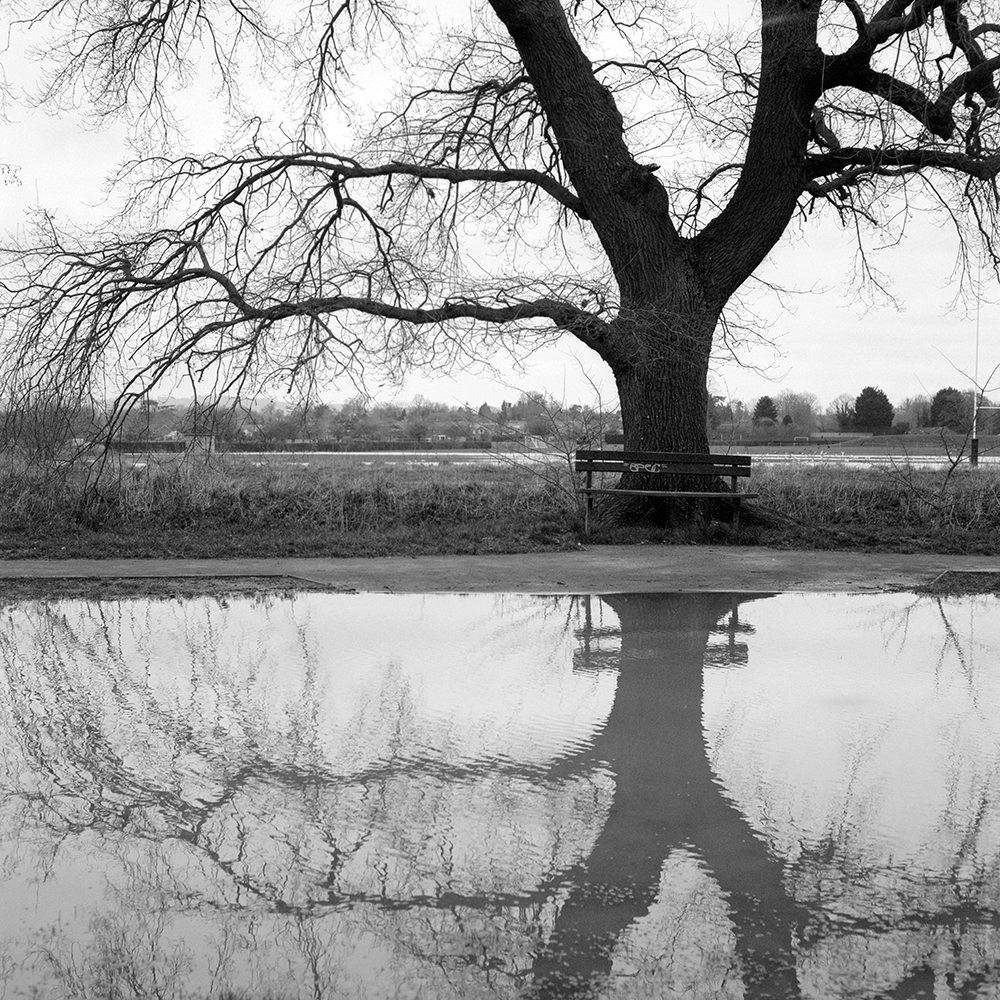
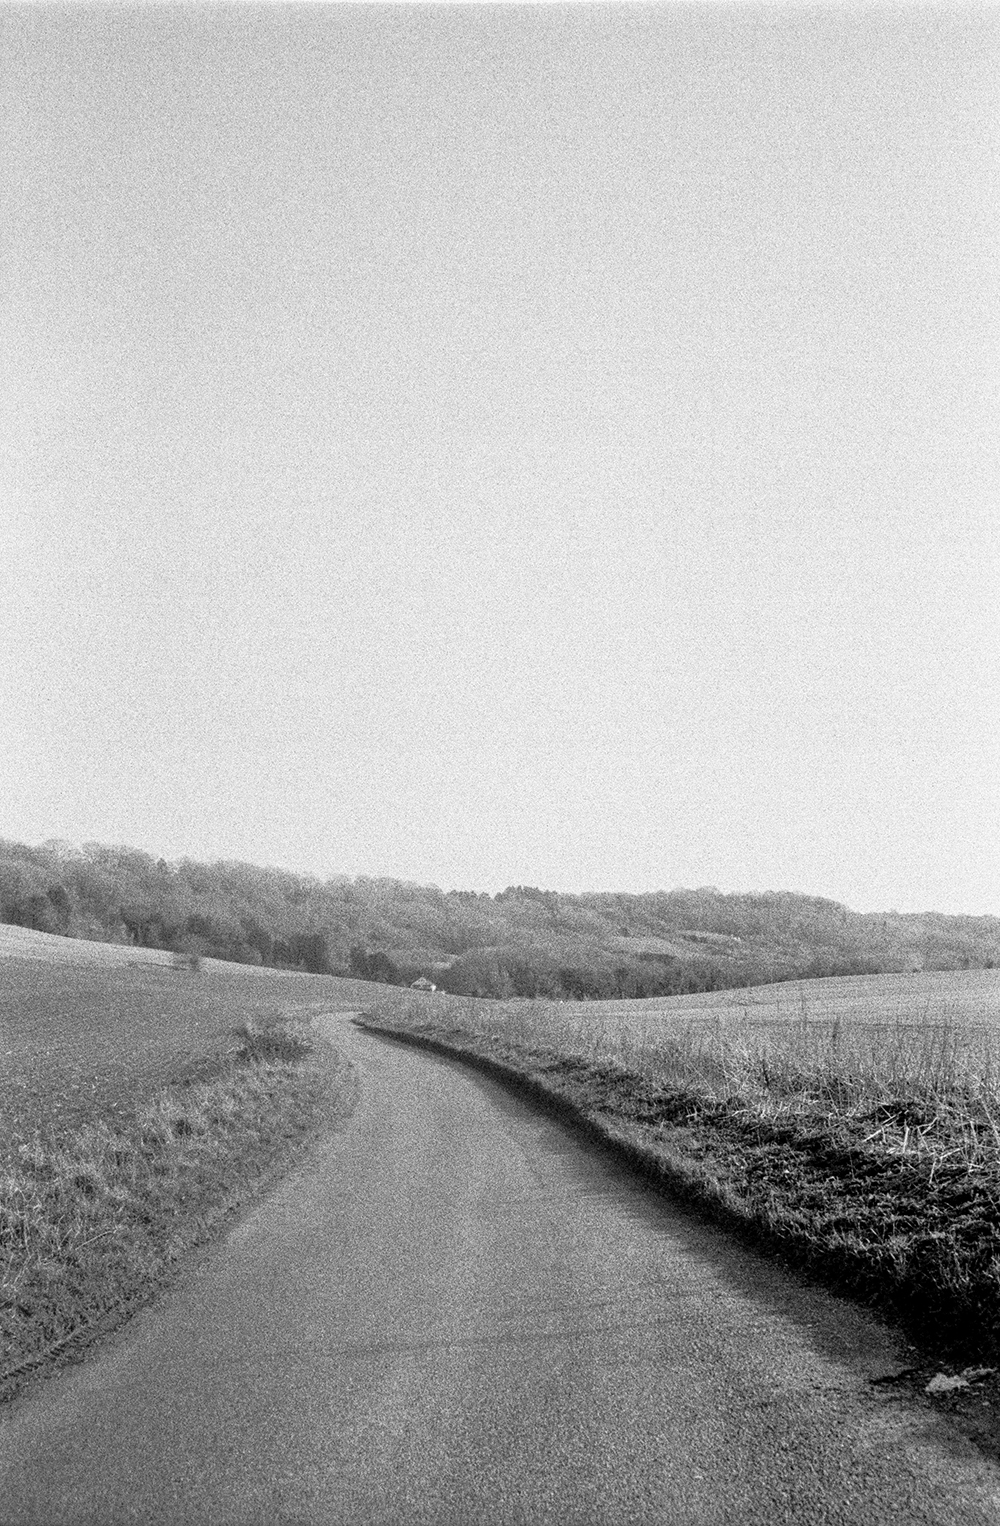
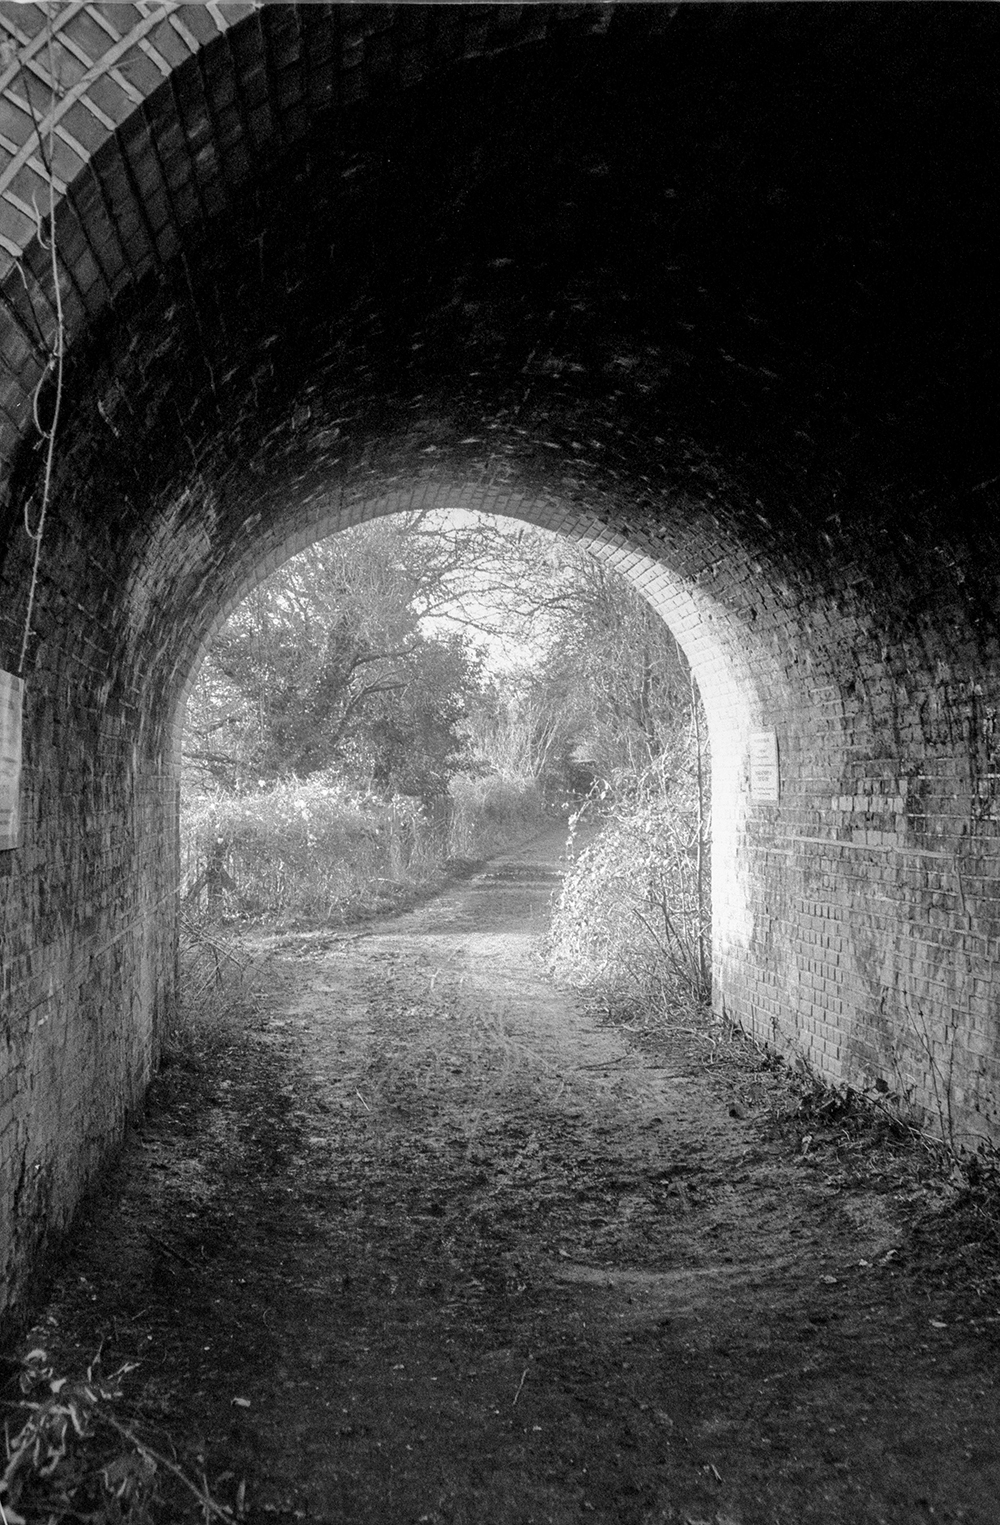
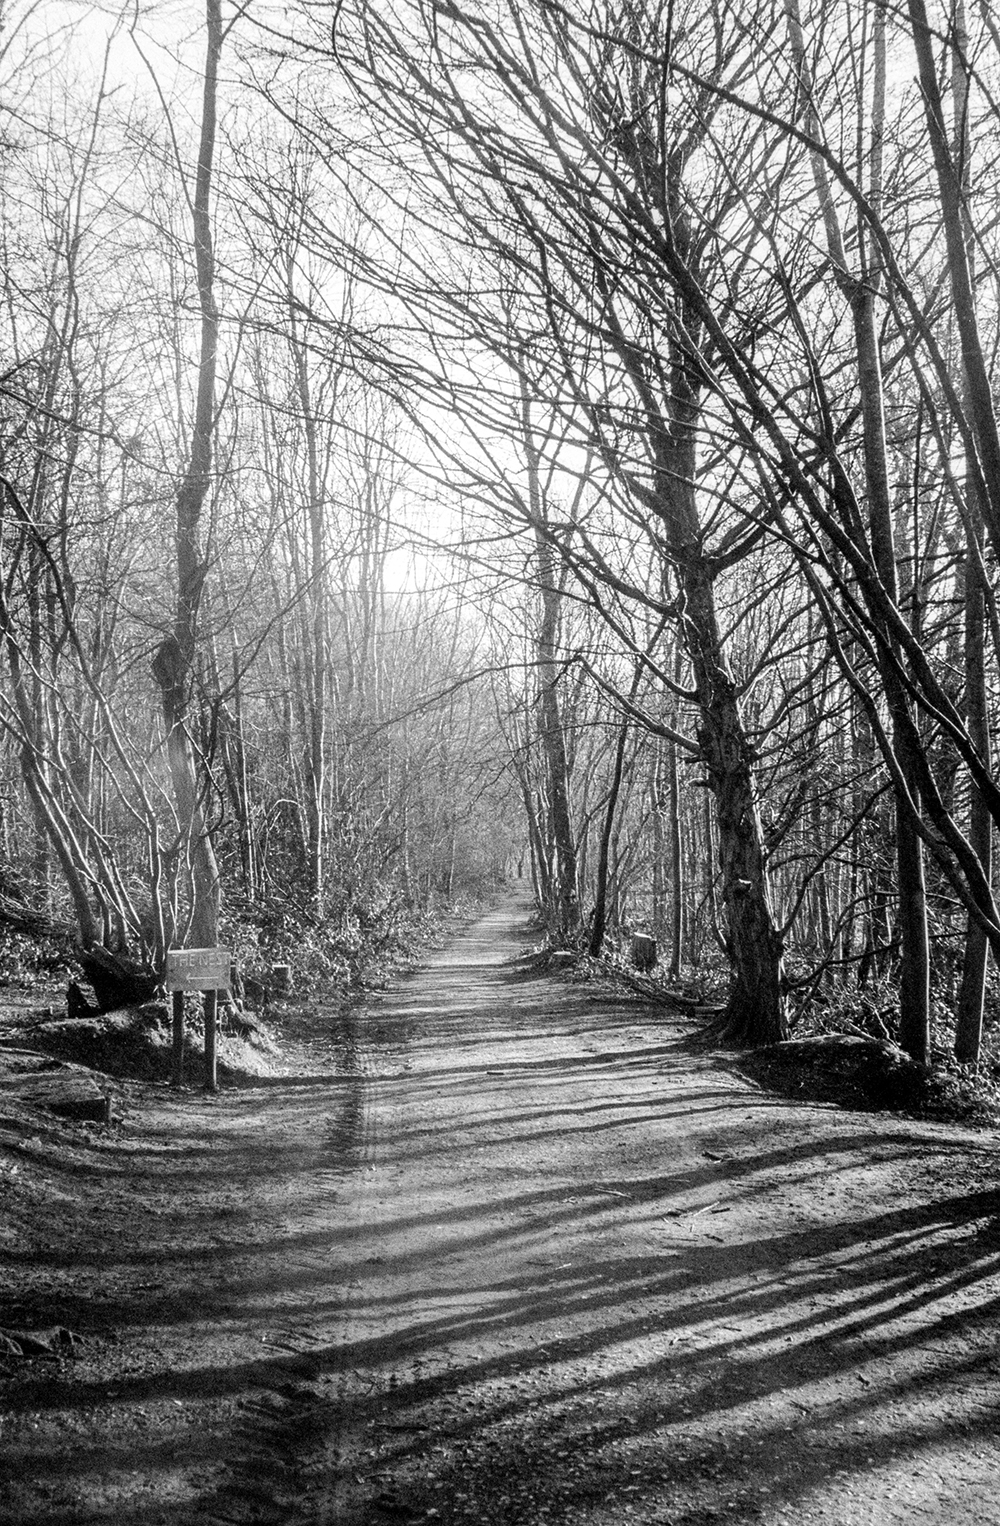
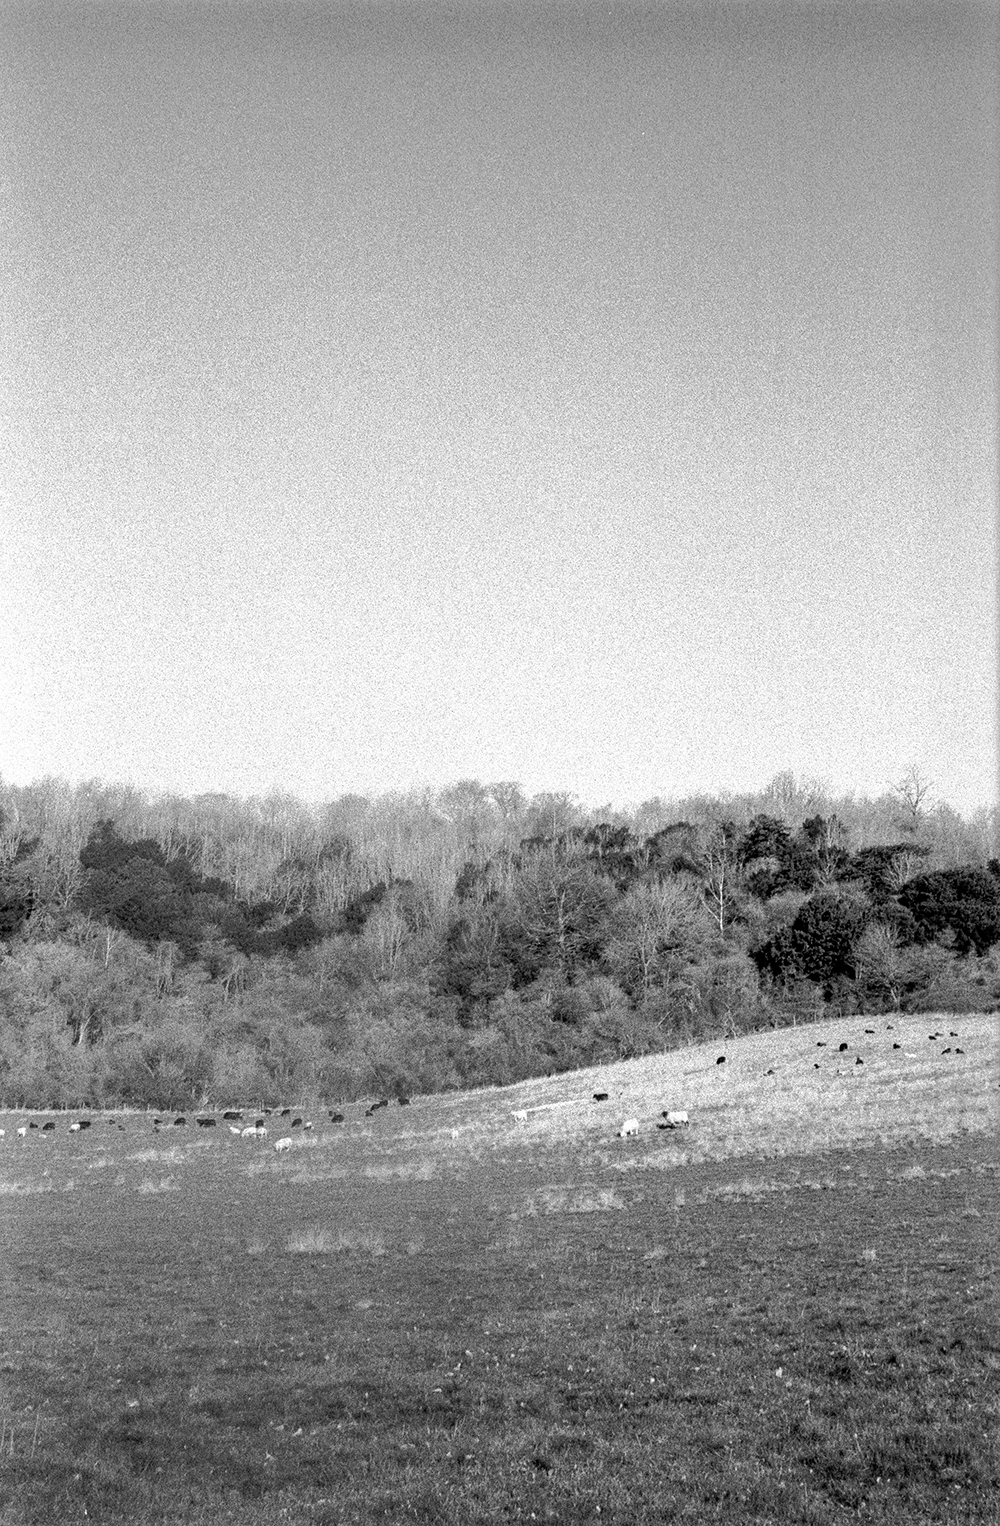
As you can see it’s not perfect. It has a lot of grain, and the greys tend to run into one another, but there’s something in the dreamlike, painterly imperfection of these photos that really appeals to me. There are more than a couple I’d like to have a go at printing in the darkroom, so let me share a few of them with you.
That brings us back to the title of this post, and I guess the moral of the story. There are a few times I could’ve given up here. It would have been easy enough for me to rewind film into the canister and just retrieve the leader, using it again in a camera more suited to its specifications. I could have decided to toss the negatives after seeing them, not going through the effort of scanning and editing them. Being the stubborn person that I am I decided not to, and I ended up with photos that are just a little more special than I expected them to be.
At the end of the day, what happened here was that I could draw from experience to help me realise that this time around, I could probably salvage some of the photos on that roll. However, you need to make mistakes to gain that experience. So go out and make mistakes. You may end up with some beautiful pictures, and if you don’t, at least you’ll walk away a little wiser.